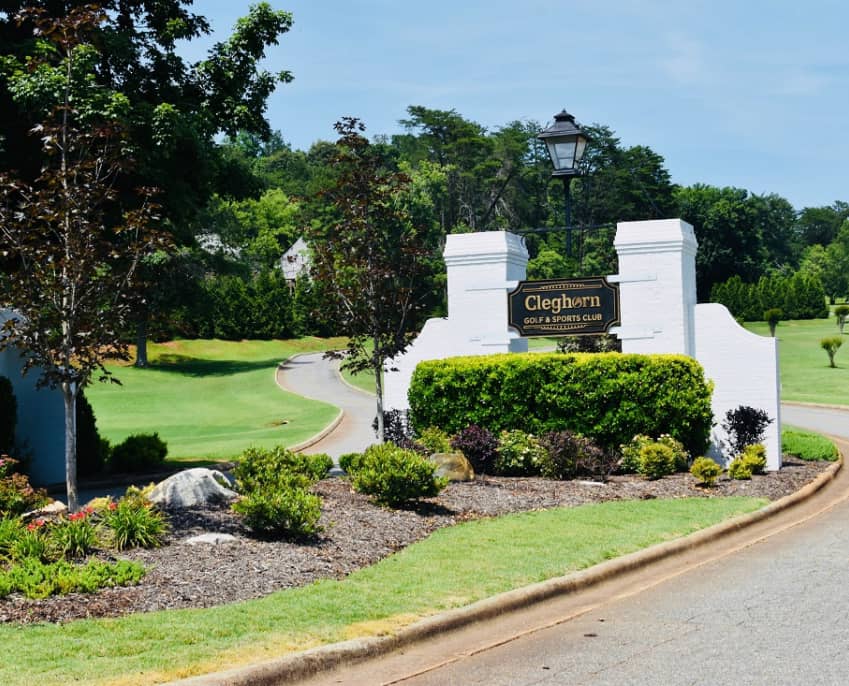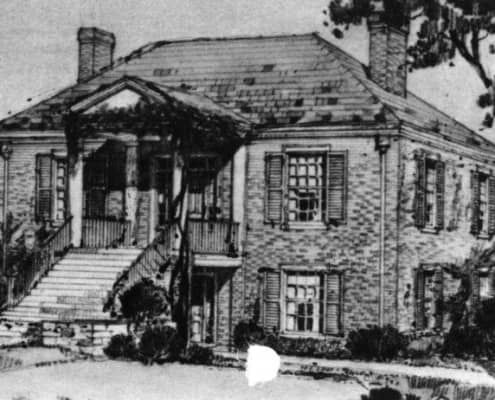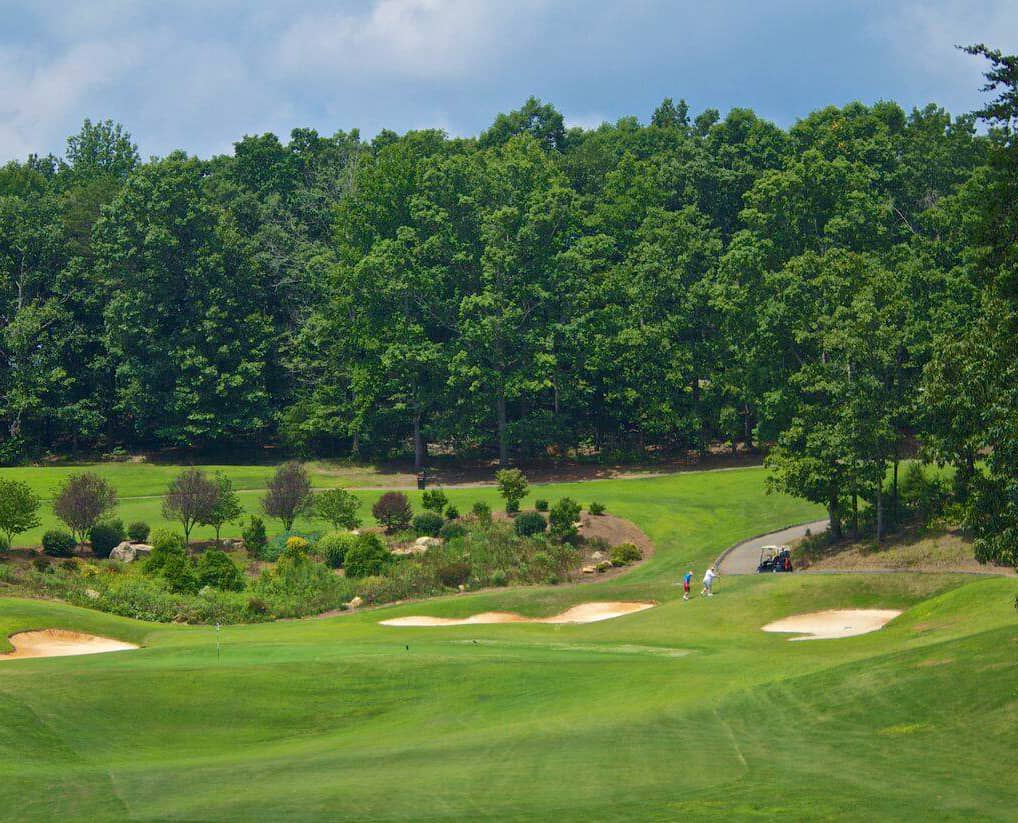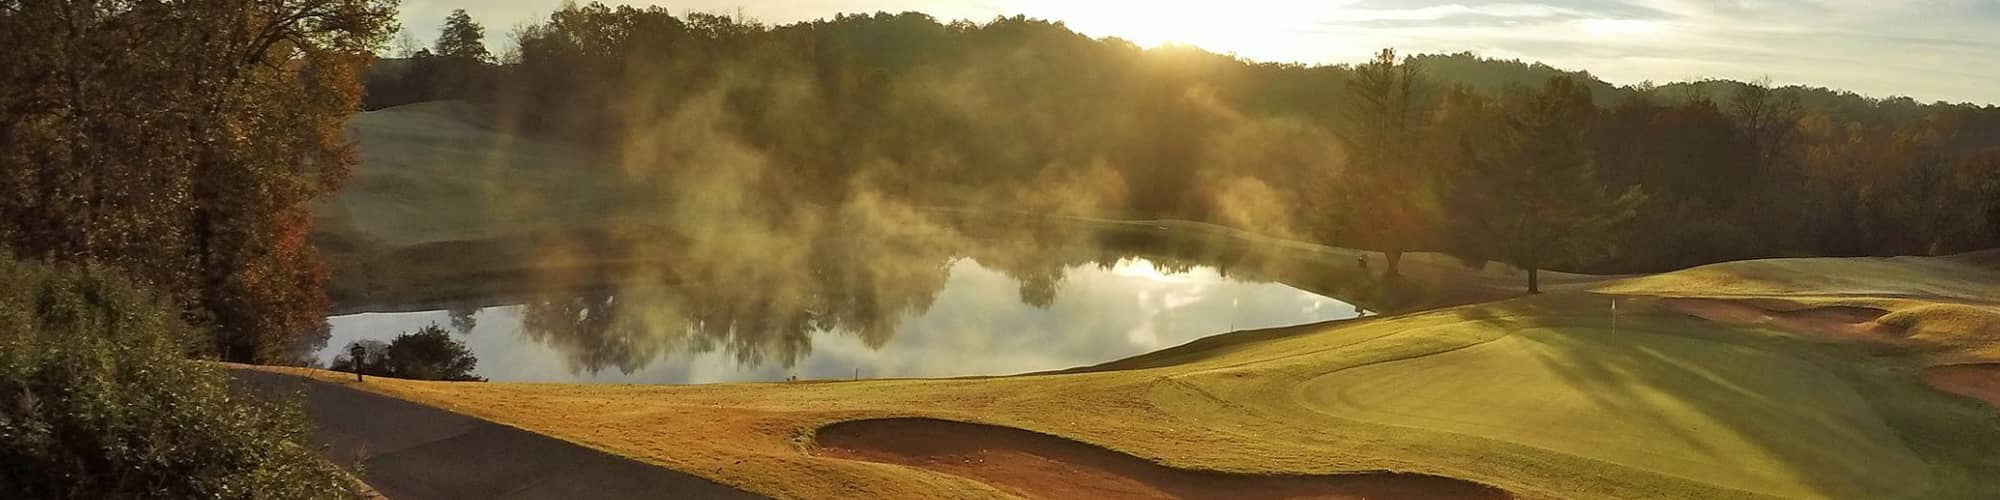
- Est. 1972
- Champion Bermudagrass Greens.
- Tifway 419 Bermudagrass Fairway and Rough
- Fully Stocked Golf Shop
- Mulligan's: Full service restaurant with full bar
- Make your tee times on this website and enjoy fast and easy reservations.
- Course Record: 61, Dave Long Jr. (5/26/19)
-
Hole #1
BLK: 324yds
GLD: 314yds
SIL: 254yds
BRZ: 221yds – Par 4Straightaway, short par 4! Get while the getting is good because this will be your easiest hole of the day! The fairway narrows as you get closer to the green. Left and long is trouble!
-
Hole #2
BLK: 382yds
GLD: 349yds
SIL: 318yds
BRZ: 258yds – Par 4Dogleg right. This hole sets up well for the left to right golfer, although too much right will find you in the trees! A generous green awaits your approach. Take an extra club as the green is slightly elevated. A missed approach is better off left than right.
-
Hole #3
BLK: 185yds
GLD: 170yds
SIL: 118yds
BRZ: 84yds – Par 3Beautiful par 3! What you see is what you get! One of the few greens that is not elevated. Get your par and go to the next hole!
-
Hole #4
BLK: 557yds
GLD: 519yds
SIL: 496yds
BRZ: 432yds – Par 5Sharp dogleg left par 5. Reachable for you big hitters willing to cut the corner! Another elevated green will make you hit an extra club on your approach.
-
Hole #5
BLK: 403yds
GLD: 369yds
SIL: 329yds
BRZ: 285yds – Par 4Dogleg right par 4. The more you bite off on your tee shot the closer your approach will be. Be careful, a miss short and to the right may see your ball careen into the trees!
-
Hole #6
BLK: 403yds
GLD: 357yds
SIL: 328yds
BRZ: 231yds – Par 4This beauty of a par 4 is breathtaking from the tee! Intimidating to say the least! Favor the right side of the fairway as the ball will most likely release down into the fairway. A tee ball landing in the left rough will mostly likely bound into the trees on the left. Another elevated green will force an extra club on your approach. An undulating green awaits your birdie putt!
-
Hole #7
BLK: 217yds
GLD: 182yds
SIL: 156yds
BRZ: 146yds – Par 3Finally another par 3, and a beautiful one at that! No running your ball up onto the green here! The hole layout requires you to fly the ball to the green. Anything landing any more than a few feet short of the green will funnel all the way down to the bottom of the fairway. A par here will most likely gain you one on the field!
-
Hole #8
BLK: 433yds
GLD: 365yds
SIL: 336yds
BRZ: 298yds – Par 4A straightaway par 4. A tee ball in the fairway will afford you a good opportunity for a birdie! Another elevated green will require at least another club on your approach. A generous green awaits your approach.
-
Hole #9
BLK: 342yds
GLD: 307yds
SIL: 377yds
BRZ: 219yds – Par 4Once a par 5, this slight dogleg to the left par 4 is a big hitter’s dream! Drive the green and two putt for your birdie! A missed drive is better off right than left. Be careful on your approach if the pin is at the back of the green as the green complex drastically falls away from you!
-
Hole #10
BLK: 423yds
GLD: 379yds
SIL: 333yds
BRZ: 226yds – Par 4Another beautiful slight dogleg left par 4. This beauty demands an accurate tee shot. Favor the right side of the fairway for a clear shot to the green…but not too far right (!) as a winding creek frames the hole.
-
Hole #11
BLK: 412yds
GLD: 381yds
SIL: 357yds
BRZ: 352yds – Par 4Grip it and rip it! A generous landing area awaits your tee shot on this fabulous dogleg left par 4. The beautiful holes just keep coming! Challenge the creek and get yourself a shorter approach!
-
Hole #12
BLK: 187yds
GLD: 147yds
SIL: 124yds
BRZ: 119yds – Par 3This par 3 is an eye catcher and can be played as a short par 3 or as a monstrous par 3! What you see is what you get on this pretty par 3.
-
Hole #13
BLK: 407yds
GLD: 390yds
SIL: 337yds
BRZ: 272yds – Par 4This straightaway par 4 is supposed to be the hardest hole on the course. We’ll let you be the judge! A generous landing area gives way to a tricky green with a false front. Get your par and hurry onto the next hole!
-
Hole #14
BLK: 530yds
GLD: 468yds
SIL: 428yds
BRZ: 381yds – Par 5This par 5 is a unique double dogleg that turns slightly right off the tee then back left up the hill to the green. A tee shot favoring the right side of the fairway will get you a few more yards of roll. A big hitter can get there in 2 but the second shot requires a demanding uphill shot with a long iron or hybrid that MUST hold the green! If not, the fall off at the back of the green often results in a lost ball.
-
Hole #15
BLK: 391yds
GLD: 331yds
SIL: 317yds
BRZ: 276yds – Par 4This dogleg right par 4 was Mr. Cobb’s favorite hole! Keep it left off the tee as the ball will want to fall to the right towards the creek. A tee ball pushed way right may be saved by the sliver of fairway to the right of the creek! This is another great hole!
-
Hole #16
BLK: 198yds
GLD: 184yds
SIL: 140yds
BRZ: 110yds – Par 3This par 3 will fool you if you try to determine the yardage by sight! Not much trouble around the green. Par here is a good number!
-
Hole #17
BLK: 395yds
GLD: 378yds
SIL: 337yds
BRZ: 265yds – Par 4Another great par 4! A slight dogleg right and up the hill. Another generous fairway gives itself to a very elevated green which will usually require 2 extra clubs. The green is very long front to back and a back pin will require even more club to get the ball back to the hole!
-
Hole #18
BLK: 573yds
GLD: 541yds
SIL: 455yds
BRZ: 442yds – Par 5This straightaway par 5 is a great finishing hole! The hole starts with a blind tee shot with very little trouble left or right. Your second shot is not much of a decision, you’ll need to lay up. Be sure and get it to the bottom of the hill or you’ll be left with a long iron on a down lie to an uphill green. Not a shot for the faint at heart! The long hitter can maybe get there in 2 but would need a big tee shot and a big 3 wood to pull it off.